Wan Start & End Frame - Step-by-Step Workflow
Wan Start & End Frame - Step-by-Step Workflow
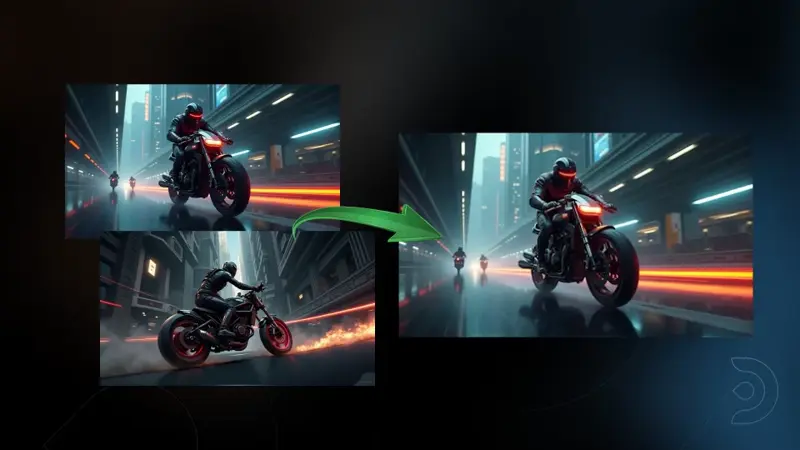
Used for image to video generation, defined by the first frame and end frame images.
Workflow below:
Just drag and drop the workflows, add input images & prompts, and run! [These are ready to run workflows where that will work end to end]
Wan Start & End Frame - Step-by-Step Workflow
What You'll Need
- ComfyUI (either installed locally or using ThinkDiffusion's cloud version)
- Just two images for start and end frames
- These ready-to-use workflows (just drag and drop!)
Key Inputs
Load Image (Start Frame): Use any JPG or PNG showing your subject clearly to start your video
Load Image (End Frame): Use any JPG or PNG showing your subject clearly to act as the last part of your video. Make sure it's the same resolution as the load image.
Width & height: Optimal resolution settings are noted. Default is set to 480P, up to 72oP.
Prompt: as descriptive a prompt as possible.
Num Frames: Default set at 77, higher frame numbers may result in out of memory.
Frame Rate: 16fps is optimal for this Wan video model

Setup Instructions (One-Time Only)
Installing Missing Custom Nodes
If you see red nodes in your workflow:
- Look for the ComfyUI Manager in the menu bar
- Click "Install Missing Custom Nodes"
- When the list appears, click "Install"
- Wait for installation to complete
👉🏼 Launch ComfyUI in Local or ThinkDiffusion machines.
👉🏼 Install all Custom Nodes: If you see red nodes in your workflow, it means you're missing some required custom nodes. Follow these steps to install them so your workflow can function properly.
- Go to ComfyUI Manager > Click Install Missing Custom Nodes

- Check the list below if there's a list of custom nodes that needs to be installed and click the install.

👉🏼 Install Models:
- Go to ComfyUI Manager > Click Model Manager and install models that are selected on the workflow, in case it doesn't run.

Troubleshooting Tips
- If a workflow doesn't run, check for red nodes and install missing custom nodes
- For best results, use clear images with good lighting
- Start with simple prompts and gradually get more creative
- Try regenerating if the first result isn't quite right